Namespaces
This guide explores working with namespaces. Namespaces allow users to group applications and resources together. For more information see the namespaces reference page.
View Namespaces
- UI
- CLI
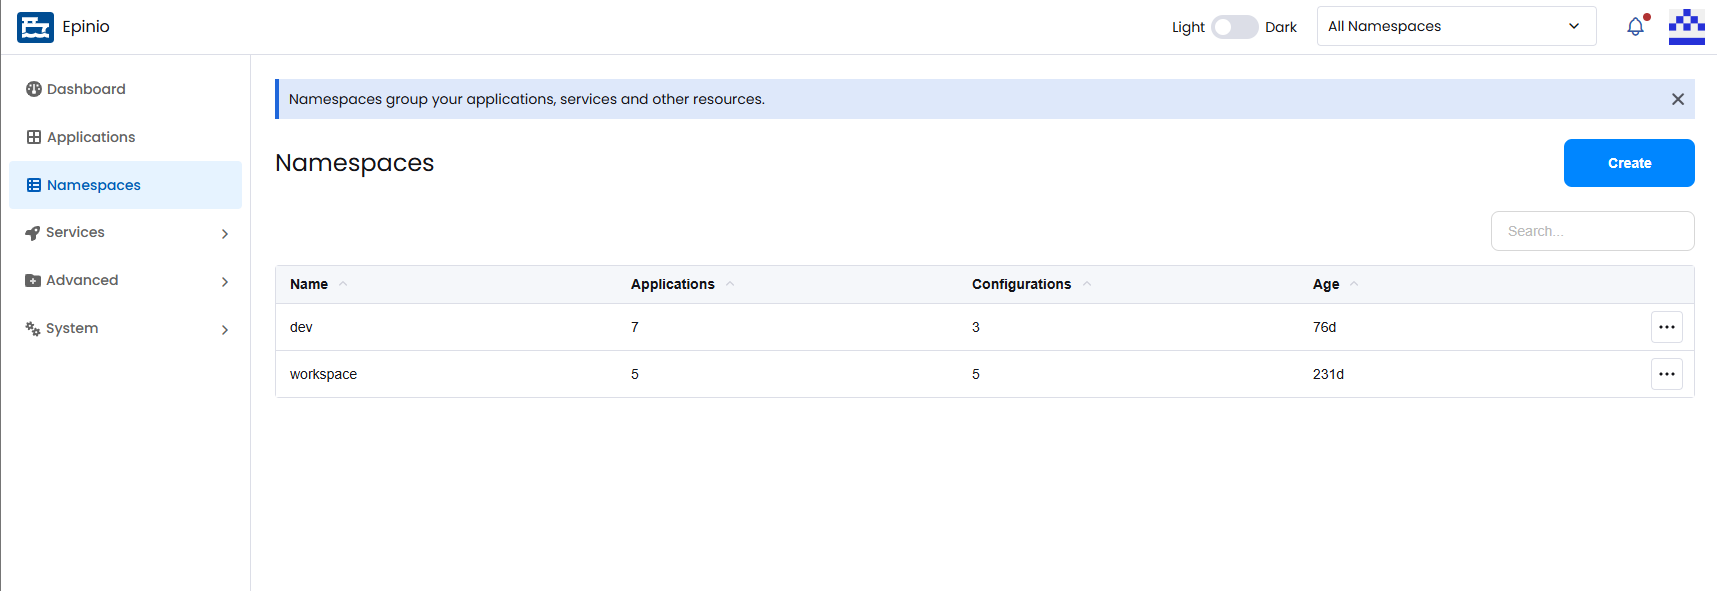
To view a table of all available namespaces, navigate to the Namespaces page from the side navigation menu.
To list all namespaces:
epinio namespace list
Output:
🚢  Listing namespaces

✔️  Epinio Namespaces:
|   NAME    |            CREATED            | APPLICATIONS | CONFIGURATIONS |
|-----------|-------------------------------|--------------|----------------|
| workspace | 2023-03-14 09:48:11 +0100 CET |              |                |
Create a Namespace
- UI
- CLI
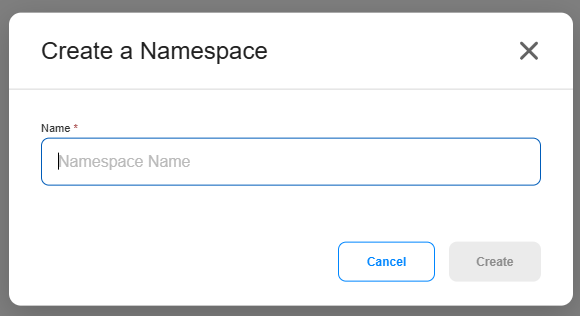
Click Create on the Namespaces page, enter a namespace name, and click Create.
Create a new namespace:
epinio namespace create newnamespace
Output:
🚢  Creating namespace...
Name: newnamespace

✔️  Namespace created.
Delete a Namespace
- UI
- CLI
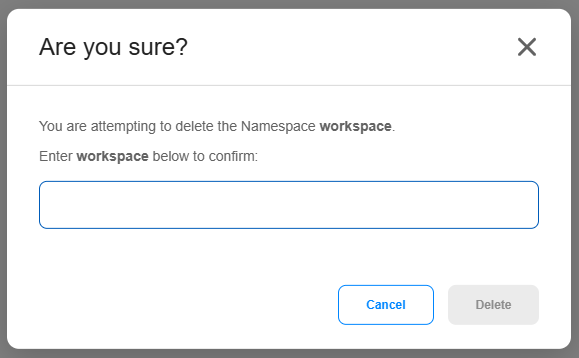
Open the action menu for the namespace and select Delete. Confirm the deletion by entering the namespace name.
Delete a namespace:
epinio namespace delete newnamespace
Output:
You are about to delete namespace newnamespace and everything it includes, i.e. applications, configurations, etc. Are you sure? (y/n): y

🚢  Deleting namespace...
Name: newnamespace

✔️  Namespace deleted.
Select a Namespace
- UI
- CLI
When creating resources such as applications and services, you can select which namespace they belong to. You can also filter displayed resources using the namespace selector in the top navigation bar.

View the currently targeted namespace:
epinio target
Output:
✔️
Currently targeted namespace: workspace
Target a different namespace:
epinio target newnamespace
Output:
🚢  Targeting namespace...
Name: newnamespace

✔️  Namespace targeted.
Additional CLI Docs
For additional documentation on the CLI commands above, along with additional commands, see the epinio namespace CLI reference.